Seams are unavoidable in most kitchens
Every quartz or stone slab has a maximum size. Standard engineered quartz slabs run approximately 55 to 65 inches wide by 120 to 132 inches long, depending on the manufacturer and product line. Most San Diego kitchens have countertop runs that exceed those dimensions, which means multiple slab sections and therefore seams.
A seam is a joint between two slab sections. In a properly executed installation, the seam is filled with color-matched epoxy and ground smooth so the transition is as tight and flat as possible. A well-placed, well-executed seam in a solid-color or subtly patterned quartz is nearly invisible at normal kitchen viewing distance. A seam in a slab with dramatic veining is more visible because the pattern can’t continue across the joint.
Understanding seams before your installation helps you set realistic expectations and ask the right questions when reviewing your quote.
Why seams exist
The slab size limit is the main reason. Slabs can’t be produced in infinite dimensions. The manufacturing process, the handling requirements, and the structural limits of the material all constrain maximum slab size.
The secondary reason is transportation and installation practicality. A countertop slab for a 15-foot kitchen run at full depth (25 inches) would weigh hundreds of pounds and be nearly impossible to move through a typical San Diego home without widening doorways. Fabricators work with pieces that two people can handle safely.
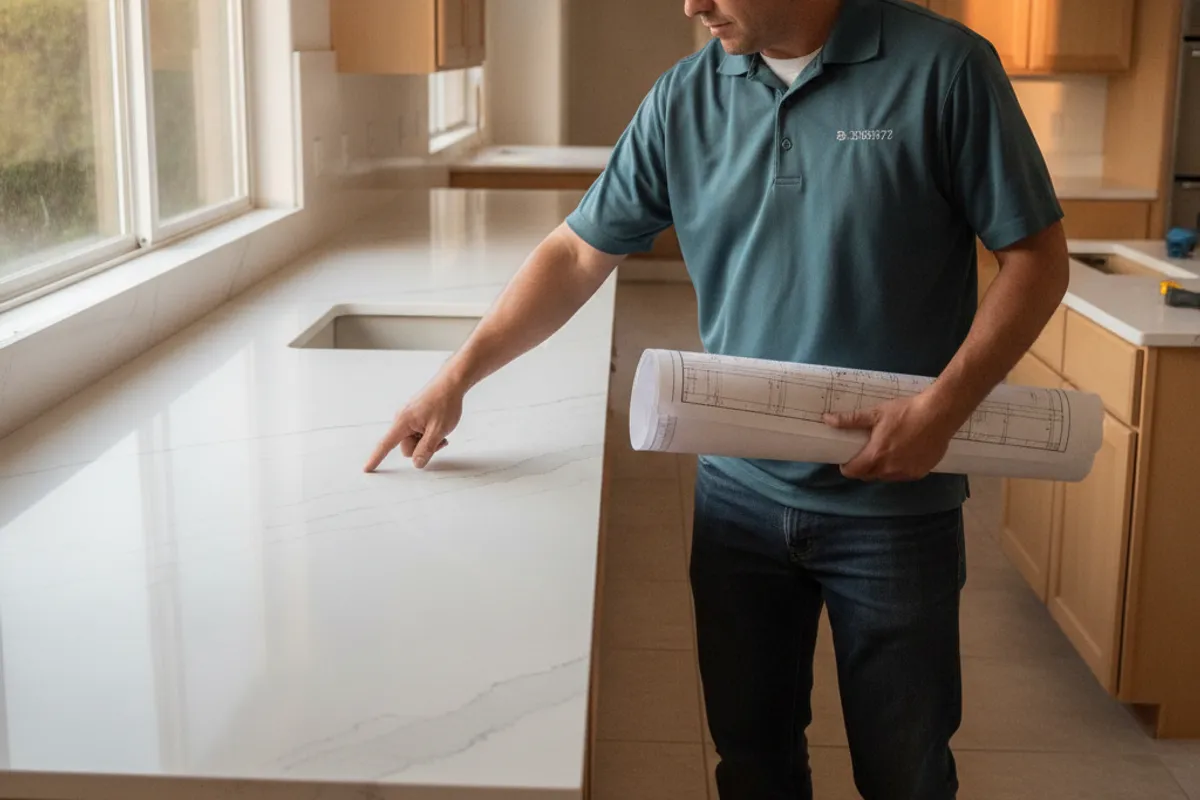
Where fabricators place seams
Seam placement is part of the fabricator’s design work at the template stage. Experienced San Diego fabricators follow a few conventions:
Avoid seams in high-traffic zones. The area directly in front of the sink is a common seam location because of the cutout, but a seam running straight across the front edge of the sink is more noticeable than one placed at the corner or to one side. Fabricators try to avoid the primary work area at the center of the kitchen.
Use corners and transitions. A seam at a corner (where the counter turns from one wall to another) is less visible than a seam mid-run. The eye expects a transition at a corner, so it reads as intentional rather than as a break in the material.
Align with panel edges and cabinet breaks. In kitchens with defined sections (a peninsula, a separate baking zone), a seam at a natural division in the cabinet layout reads cleanly.
Keep seams away from the stove. Heat near the stove area adds stress to the seam over time. Fabricators try to keep seams away from high-heat zones when the layout allows it.
What makes a quality seam
Tight gap: The two slab sections should meet with minimal gap. A well-executed seam has a gap measured in fractions of a millimeter, filled flush with color-matched epoxy. A visible gap, or a gap that you can feel with your fingernail, is a quality issue.
Level surfaces: The two sections should be co-planar. If one sits higher than the other, you’ll feel the transition when you run your hand across the counter. A skilled installer uses adjustable brackets and shimming to achieve a flush, level joint before the epoxy sets.
Color match: The epoxy filler is tinted to match the slab. For solid colors, this is straightforward. For complex veined slabs, it’s harder. A slight color difference in the filler versus the stone around it is common, particularly in dramatic white-and-gray veined materials. The better the color match, the more the seam recedes visually.
Smooth finish: After the epoxy cures, the fabricator grinds and polishes the seam area so the surface is smooth and consistent with the rest of the countertop. A rough or raised seam means the finishing step wasn’t completed properly.
Seams in patterned slabs
In solid-color quartz or subtly patterned material, a quality seam is genuinely hard to see. In highly veined quartz that mimics marble, the pattern stops at the seam. The epoxy fill doesn’t replicate the vein pattern. Depending on how dramatic the veining is and how the slab is oriented, this can be subtle or more noticeable.
If vein continuity matters to you, discuss slab orientation with your fabricator before the template. Some layouts allow the fabricator to place the seam where the veining naturally has a break or where the joint falls less prominently. The slab layout diagram from the template stage should show you where the seams fall before you approve fabrication.
Seam location agreement: get it in writing
Before fabrication begins, ask your fabricator for a slab layout diagram that shows where every seam will be. Reputable San Diego fabricators produce this as a standard part of the pre-fabrication process. Review the seam locations and approve them. If you have concerns about a seam placement, raise them before fabrication. Seam location changes after cutting are not possible without new slab sections.
Fewer seams vs. larger slabs
Some homeowners ask if they can use larger slabs to reduce seam count. Slabs are manufactured in standard sizes, so the question is really about layout optimization. An experienced fabricator will find the most efficient cut layout that minimizes seams while staying within the slab dimensions available. Premium slab formats (some manufacturers offer extended slabs in the 130-140 inch range) can reduce seams in large kitchens but at higher material cost.
For the full installation process, including how the template stage works and what to approve before fabrication, see the countertop installation guide.
Call (858) 925-5546 to get connected with a San Diego fabricator who will show you the slab layout before cutting and produce seams you can evaluate before committing.
Are seams in quartz countertops visible?
It depends on the material and the execution. In solid-color or subtly patterned quartz, a quality seam is nearly invisible at normal viewing distance. In dramatic veined slabs, the pattern break at the seam is more noticeable. Tight, level, color-matched seams minimize visibility in every material.
Can seams be avoided entirely?
In many kitchens, yes. If all countertop runs fit within the slab dimensions (roughly 55 inches by 120 inches), a single slab can cover the full run with no seams. In larger kitchens with L-shaped counters, islands, or long runs, seams are almost always required.
Where is the best place to put a seam on a kitchen countertop?
Corners, transitions between sections, and areas away from the primary work zone in front of the sink. Seams near the stove are generally avoided because of heat exposure at the joint over time.